
DIY Light Box
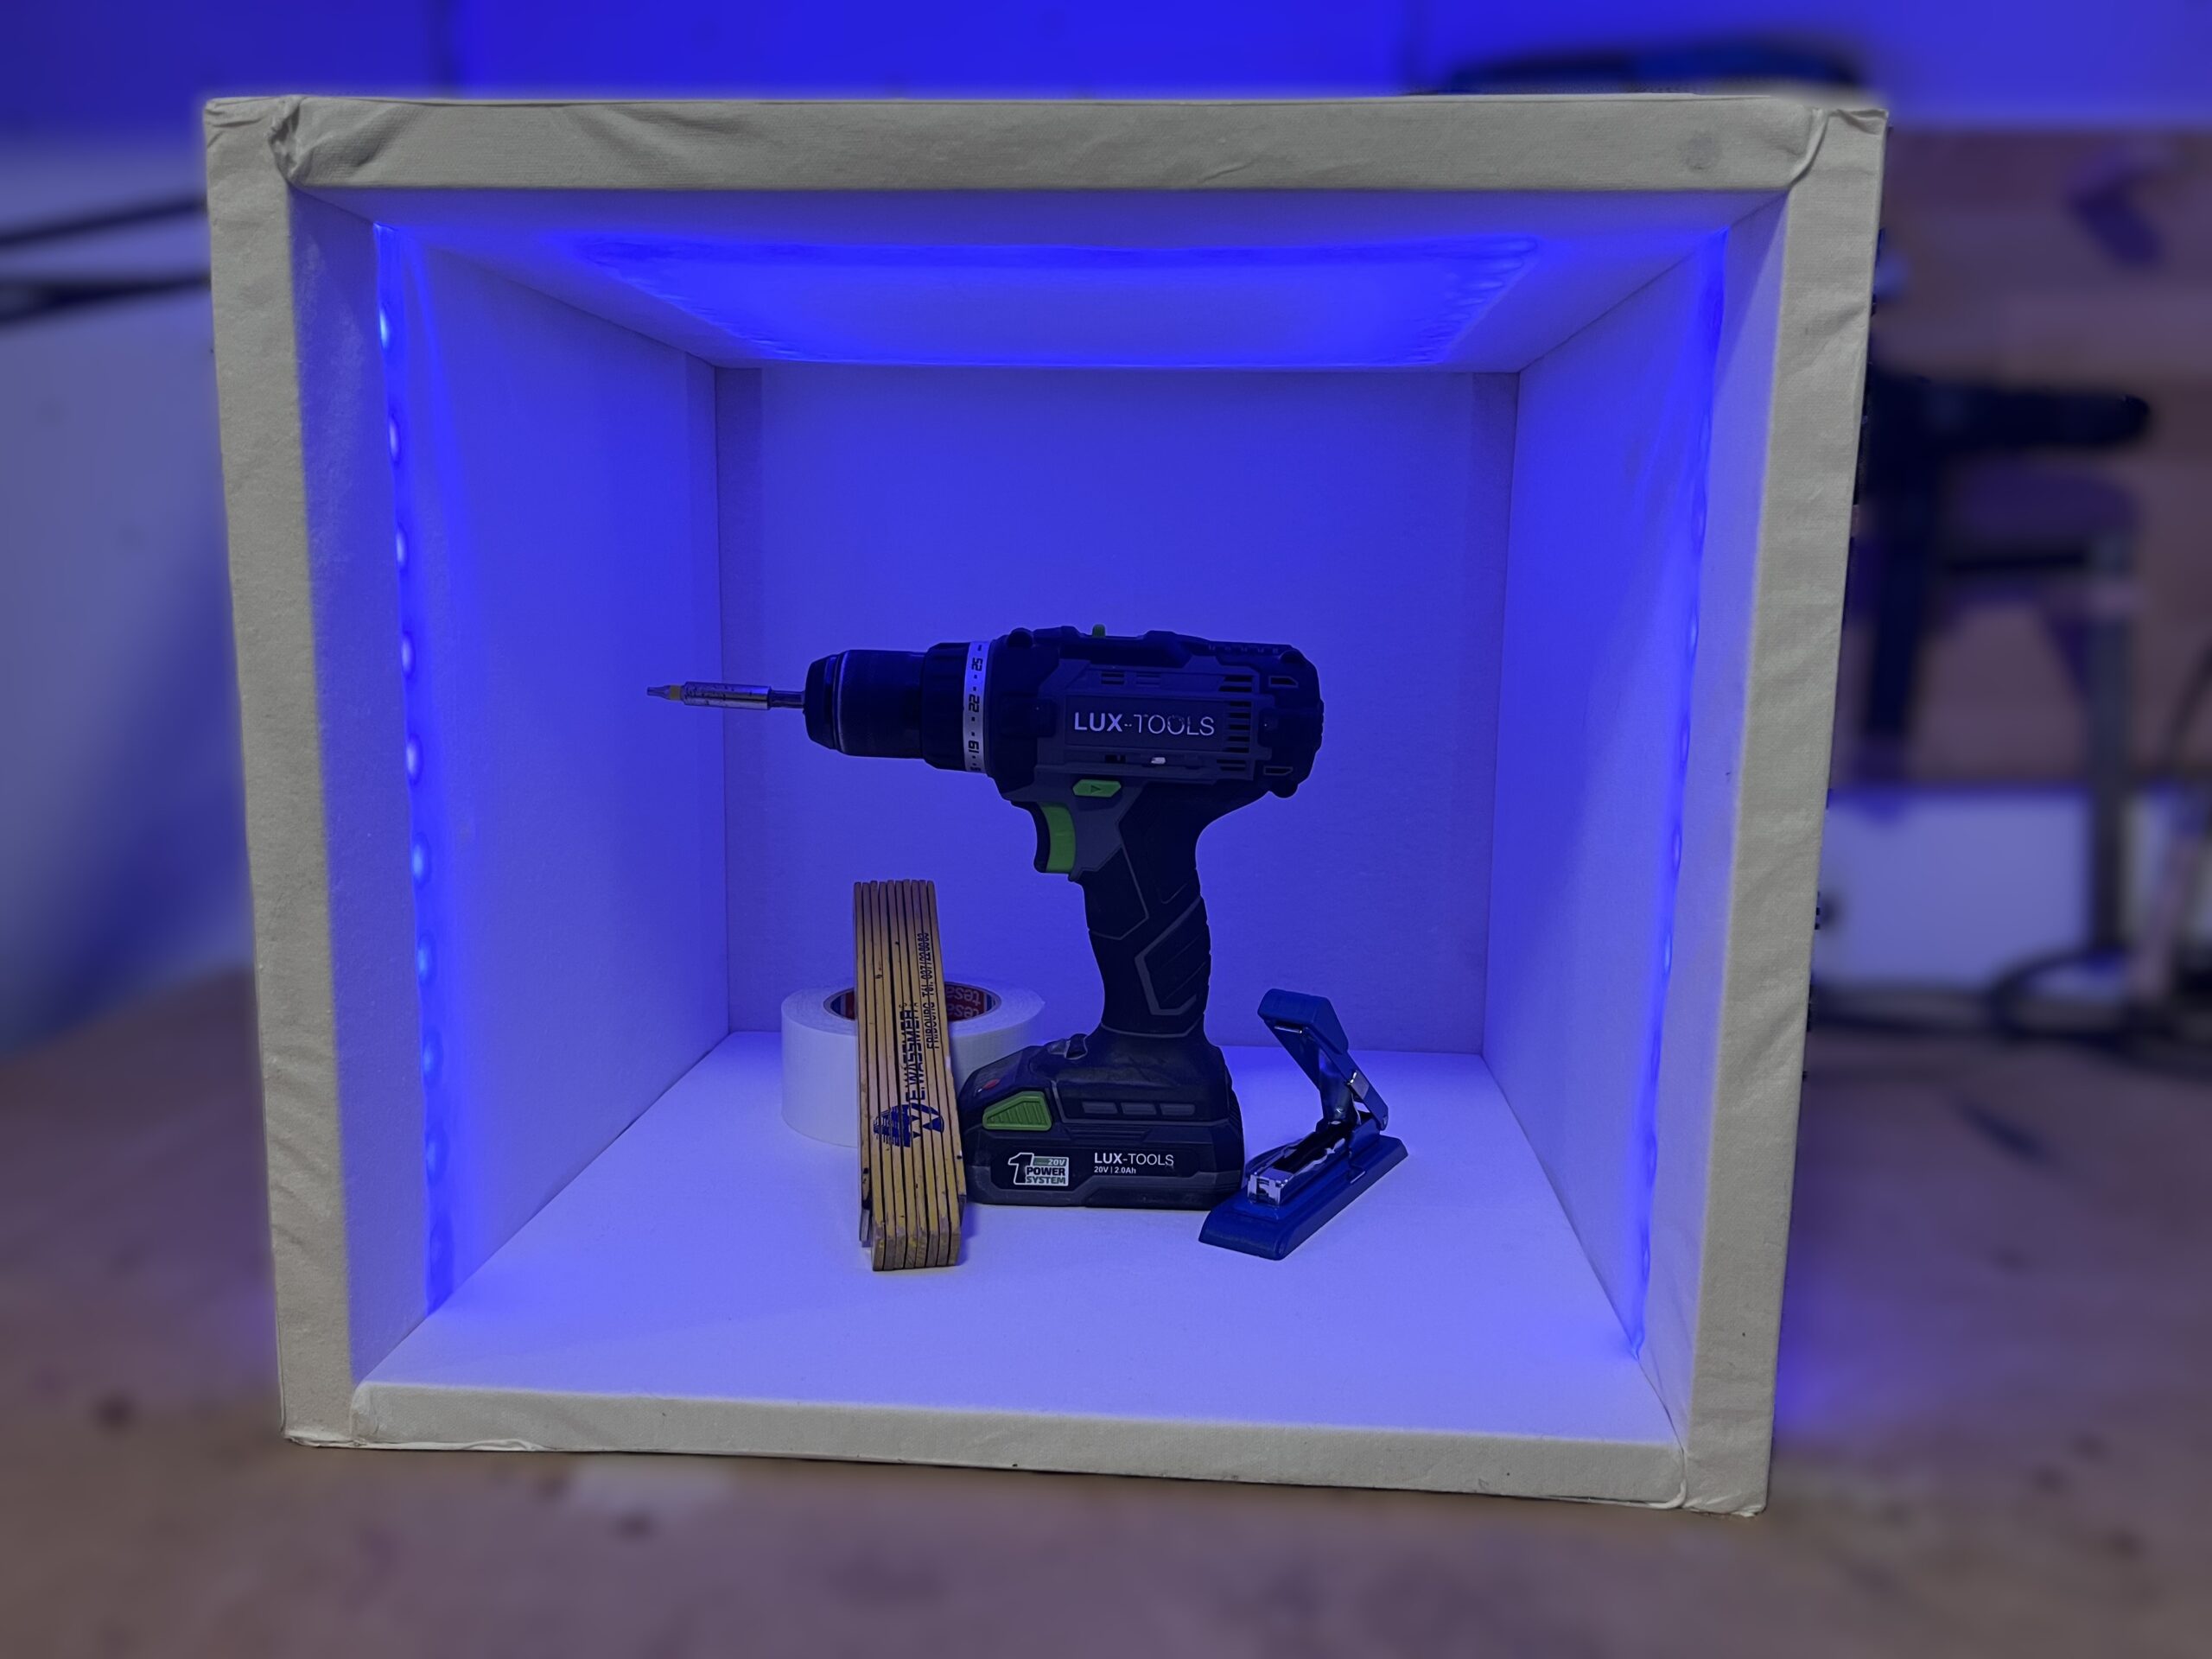
In this project, I build a DIY light box using a simple wooden frame, white fabric as a diffuser, RGB LED strips, and a reflective plywood housing.
The goal is to create a bright and evenly illuminated box for product photos, small project shots, electronics pictures, and creative lighting effects. The RGB LED strip makes it possible to change the color of the light depending on the scene.
1. Required Parts
The white fabric works as a diffuser. It softens the light and helps reduce harsh reflections. The reflective foil improves the brightness inside the box and distributes the light more evenly.
2. Required Tools
- 80-grit sandpaper
- Stapler
- Drill
- Screwdriver
- Duct tape
- Scissors
- Soldering iron
3. Sand the Wood Parts
Start by sanding the base board and all wooden planks. This removes sharp edges, splinters, and rough areas from the wood.
After sanding, clean your workspace and remove dust from the wooden parts. This is especially important before working with fabric and adhesive foil because dust makes the material harder to attach cleanly.
4. Cut the Fabric Panels
Place the 40 cm × 40 cm wood board on top of the white fabric. Leave approximately 5 cm of extra fabric on all sides. This extra material is needed so the fabric can be wrapped around the edges and stapled to the back.
Cut out the first fabric sheet with scissors. Repeat this process until you have five fabric sheets in total.
The white fabric turns the wooden frame into a soft diffuser surface.
5. Wrap the Base Board
Wrap one fabric sheet around the base board. Pull the fabric around the edges and staple it to the back side of the board. Try to keep the fabric under steady tension while stapling. This keeps the visible side smooth and wrinkle-free.
6. Attach the First Side Planks
Lay another piece of fabric on top of the base board. Take one 40 cm plank and position it along one edge of the board, directly on top of the fabric.
Adjust the fabric so it wraps slightly around the back of the plank. Predrill two holes and secure the plank with two wood screws. Repeat the same process on the other corner of this side.
7. Attach the Opposite Side
Repeat the same process on the opposite side of the base board. Place the fabric, align the planks, predrill the holes, and screw the planks into position.
8. Add Reflective Foil and LED Strip
Add reflective foil to the inner plywood surfaces. The reflective surface helps bounce the LED light around the inside of the box and improves the overall brightness.
Mount the RGB LED strip inside the box so the light is spread as evenly as possible. Avoid placing the LED strip where it shines directly into the camera.
9. Light Distribution Workflow
10. Common Problems
The light is uneven
Move the LED strip, add more reflective foil, or increase the distance between the LEDs and the diffuser fabric.
The fabric has wrinkles
Remove the staples on one side, stretch the fabric again, and staple it under more even tension.
The photos still show reflections
Change the light angle, use a matte background, and move reflective objects farther away from direct LED light.
11. Final Result
The final result is a simple DIY light box that improves product photos and electronics project documentation. It is large enough for small builds and compact enough to store easily.
The RGB lighting can also be used creatively for colored backgrounds or different moods in project photos.